Minecraft Replay Exporter
This is an extension for Replay Mod that allows you to export your gameplay recordings directly into Blender.
Attention: the mod is in active development! Bugs and instability may occur. Not recommended for serious projects! (But if you decide to try it anyway - share your results!)
Example of work:
Installation
For Minecraft
- Download the jar file from this page
- Place it in the
modsfolder along with Replay Mod and Fabric API
For Blender
- Download the zip archive from the releases page on GitHub. Do not extract the archive!
- In Blender, open settings and go to the "Add-ons" tab
- In the top right corner, click "Install..." and select the downloaded zip file
Usage
Export
Start by recording the gameplay in Minecraft that you want to export. If you don't know how to do this, this mod might not be for you yet. Then open the replay editor and create at least two time and camera keyframes - they will determine the start and end of your animation.
Important: Nether portals and other methods of traveling between dimensions are not currently supported.
When the replay is ready, open the rendering screen and click "Export replay file:"
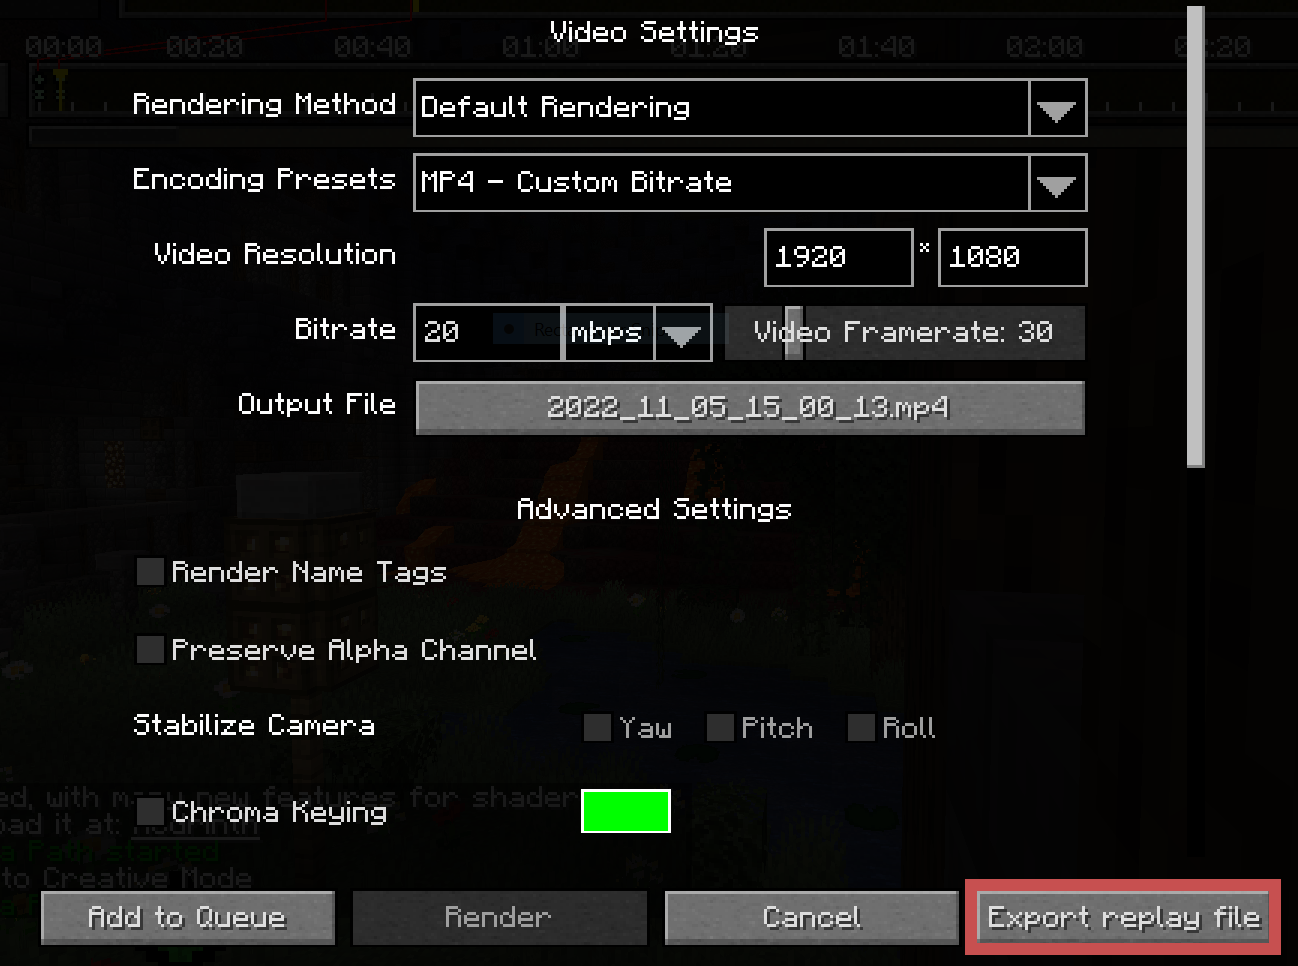
A window will open for file selection and export settings configuration. Currently available settings include:
Radius: number of chunks around the camera to exportLower Depth: Y coordinate below which export stops
Keep in mind that block processing requires significant resources, and the export radius greatly affects processing time. It's recommended to determine the minimum necessary area and limit the radius accordingly.
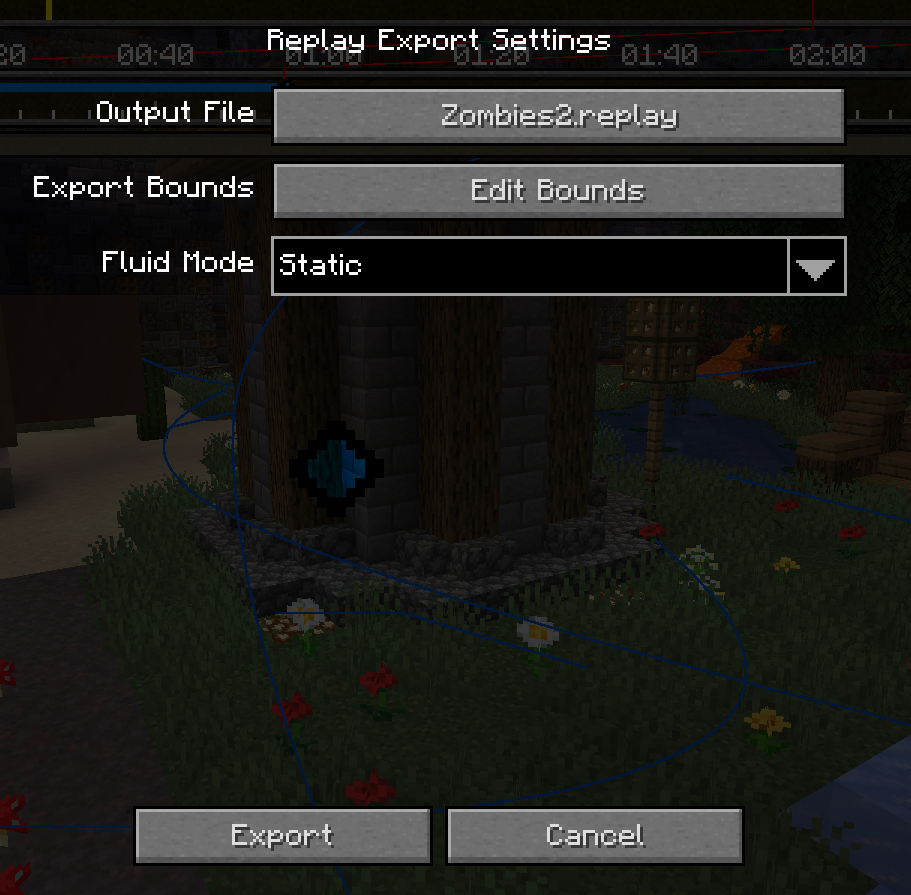
When everything is ready, click the "Export" button in the bottom left corner and wait for the process to complete. The window may appear frozen during the initial game world capture - this is normal.
Import
After exporting from Minecraft, you'll have a file with the .replay extension that can be imported into Blender using the installed addon.
Make sure the addon is installed, create a new project, and go to File > Import > Minecraft Replay File (.replay). Find your file, but before importing, pay attention to the settings on the right:
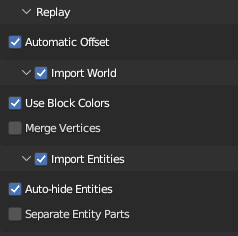
The main parameters you'll need are Import World and Import Entities. Usually, you need to import both, but each process can take significant time, so you can disable one of them if necessary.
Other settings can be left at default.
Click "Import Minecraft Replay" at the bottom. Blender may appear frozen for several minutes - don't worry, this is due to processing the large volume of Minecraft world data, and the interface doesn't update during this process.
After import completes, you'll have a Minecraft world with most of its entities in your scene! If something goes wrong - be sure to report the bug!