Camera Obscura
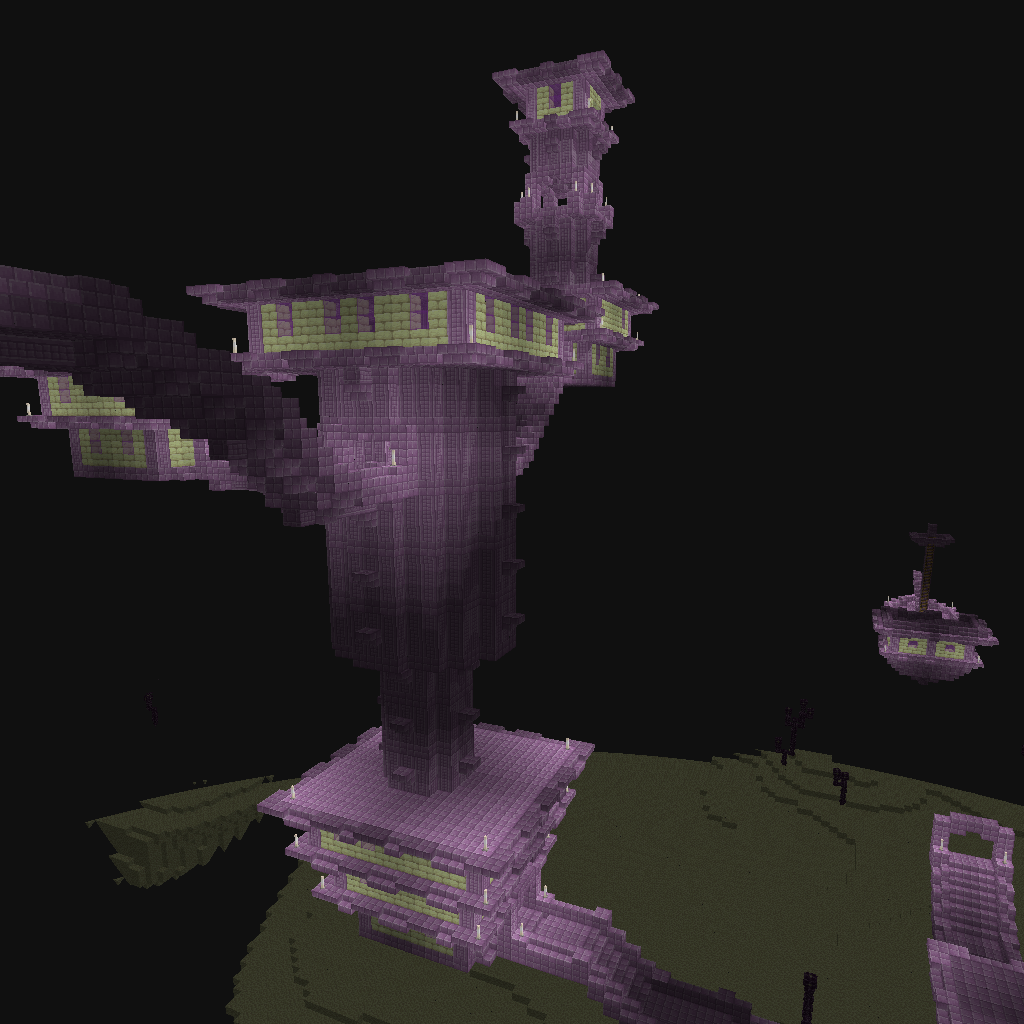
Capture the most memorable moments of your world or server as photographs! This unique mod allows you to take pictures of your surroundings and save them as in-game maps.
![]()
Main advantage: no client-side mods required for server use! All image processing is performed directly on the server using ray tracing technology.

Main Item
The mod adds a special Camera to the game. Externally it resembles a regular spyglass but has unique functions. Taking photos requires consumable materials - a map or other item that can be configured in the settings.
Currently, there is no crafting recipe for the camera. You can obtain it using the command:
/give @s camera-obscura:cameraConfiguration Settings
The configuration file is created on first launch and located at:
configs/camera-obscura.jsonExample configuration with default values:
{
  "renderDistance": 128,
  "showSystemMessages": false,
  "renderEntities": false,
  "renderEntitiesAmount": 20,
  "fullbright": false,
  "fov": 70,
  "biomeBlend": 1,
  "cameraItem": "minecraft:spyglass",
  "cameraConsumesItem": true,
  "cameraConsumeItem": "minecraft:map",
  "commandPermissionLevel": 2
}
Parameter descriptions:
renderDistance: Render distance in blocksshowSystemMessages: Show system messages when taking photos via commands (defaultfalse)renderEntities: Experimental entity rendering function (defaultfalse)renderEntitiesAmount: Number of entities to render when the function is enabled (default20)fullbright: Ignore light levels, rendering everything at maximum brightness (defaultfalse)fov: Field of view, works similarly to vanilla client settings (minimum 30, maximum 110). Default70biomeBlend: Biome blending valuecameraItem: Vanilla item to display as camera (defaultminecraft:spyglass)cameraConsumesItem: Require consumable materials for taking photos (defaulttrue)cameraConsumeItem: Consumable item for taking photos (defaultminecraft:map)commandPermissionLevel: Permission level for commands (default2)
Available Commands
/camera-obscuraTakes a photo from the perspective of the player executing the command and gives the resulting map
/camera-obscura <[Entity|Player]> <scale>Takes a photo from the perspective of the specified entity or player. Can specify scale up to 3 (3x3 map)
/camera-obscura saveTakes a photo from the player's perspective and saves it as PNG in the folder:
renders/<image_name>.png,
where the name is generated from the current date in the format:
yyyy-MM-dd HH:mm:ss.SSS
/camera-obscura save <Entity> <scale>Takes a photo from the perspective of the specified entity and saves as PNG. Can specify scale up to 10 (1280px 1280px)
Default image size: 128px 128px
/camera-obscura clear-cacheClears the cache (textures, resource pack models, block definitions, cached render models)
Permission System
Default permission level is 4, but it can be changed via the commandPermissionLevel parameter. For systems like LuckPerms, the following permissions are available:
camera-obscura.command
camera-obscura.command.scale
camera-obscura.command.entity
camera-obscura.command.entity.scale
camera-obscura.command.save
camera-obscura.command.save.scale
camera-obscura.command.save.entity
camera-obscura.command.save.entity.scale
camera-obscura.clear-cache
Known Issues
All listed shortcomings will be fixed in future updates
- Entity rendering is slow and doesn't support all entities
- Liquids appear "blocky"
- Hard lighting
- End portal and gateway blocks appear pure black (temporarily using black concrete texture)
- Models larger than one block may be cut off during rendering
- Rendering breaks with coordinates in the millions
How It Works
Game resources are downloaded from Mojang's servers and used to render the world through ray tracing. After rendering is complete, a map with the image is created or a PNG file is saved to the renders folder.
Project members

RazzleberryFox

tomalbrc
Developer

profmobius
Cojomax99
Created: 21 May 2024
ID: 9377